You can use an already configured image definition and set startup options, modify, if needed, the list of preloaded bundles and add bundles from the workspace. To do so, repeat all steps from the previous guide - Use a Ready Image Definition and then execute the following:
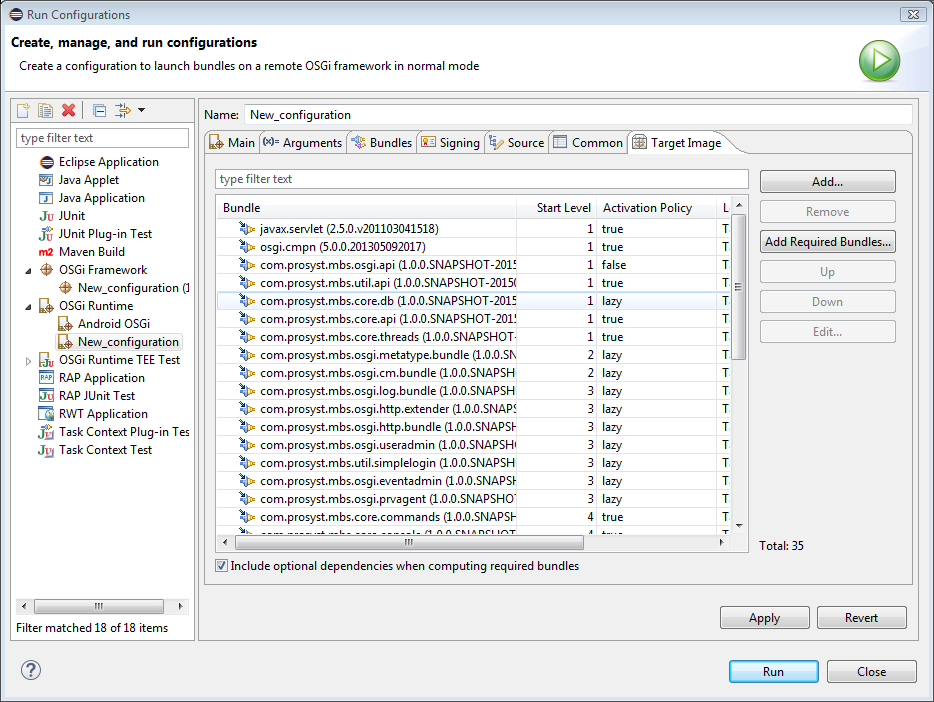
Go to the Target Image tab and edit the list of bundles which will be installing during the framework startup (they will be included in the startup bundles list file):
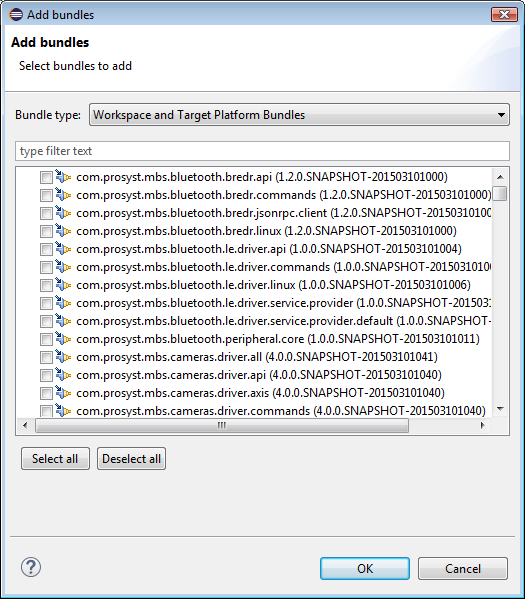
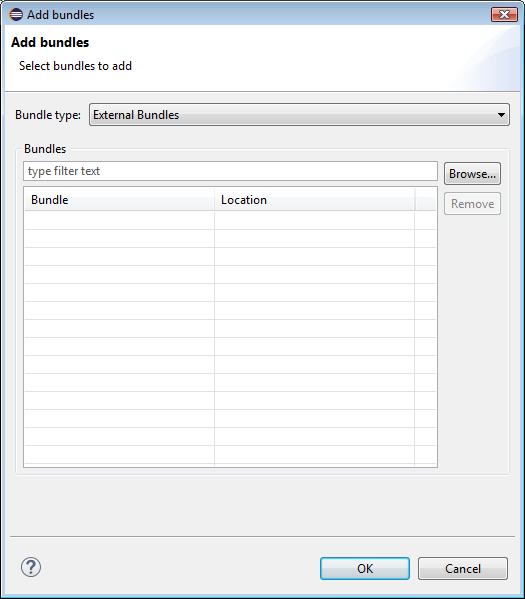
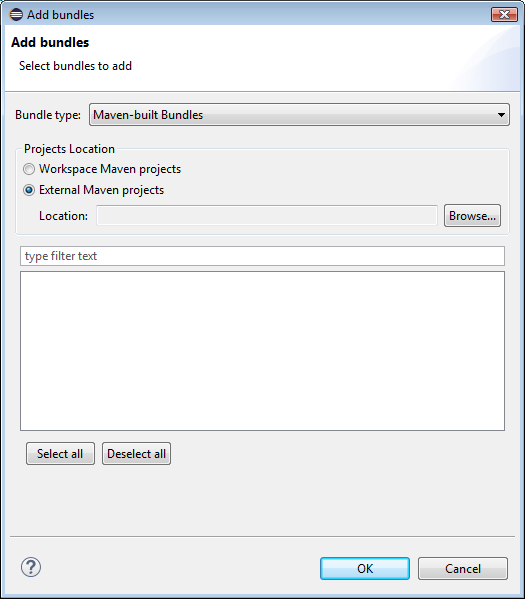
Use the Add button to select a bundle from:
The active target platform and the workspace – use the Workspace and Target Platform Bundles option as Bundle type.
Depending on target platform modification of the SDK, you have selected in the Plug-in Development > Target Platform preferences page you will be able to pick up different bundles.
From the workspace you can choose from the plugin projects and Maven bundle projects saved there.
An external location – use the External Bundles option as Bundle type.
The workspace and external location if the bundle is packed as a Maven project – use the Maven-built Bundles option as Bundle type.
Remove a selected bundle by clicking the Remove button.
Change the Start Level if needed of specific bundles. The start level determines the startup priority of bundles - bundles whose start level is greater than the one of the framework will not be started.
Specify the Activation Policy of the bundles:
true – Default. The bundle will be started.
false – The bundle will be resolved.
lazy – The activation policy defined in the bundle, if any, will be taken into account.
none – The bundle will not be installed by default at clean image startup. It will have to be explicitly deployed when required.
If needed, check the location of the bundle in the Location field.
As a result, the image name in the Main tab of the OSGi Runtime launch configuration will be changed to <Custom>.
Select Apply to save the changes.
As a result, a new image will be created based on your settings and the launch configuration settings will be saved in the active workspace.