Creating Test Cases
Create an Eclipse Test Project
To create an Eclipse project where you can put your test cases:
- Go to File > New > Other... menu command.
- In the New Project dialog, go to OSGi > TEE and select TEE Project. You will see the New TEE Project dialog:
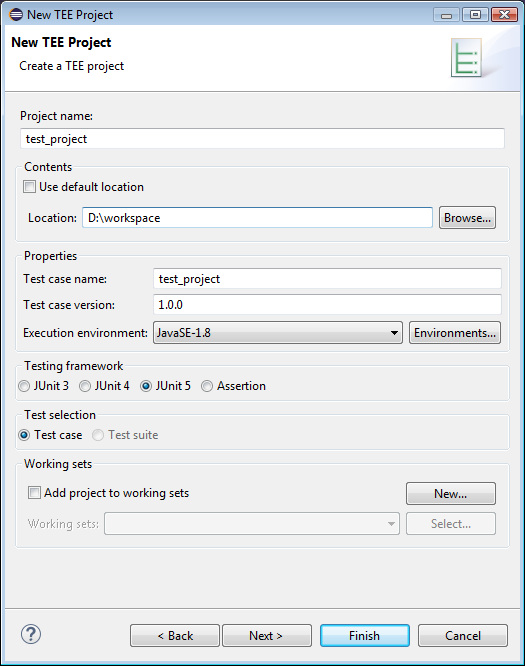
- Specify a name for the project.
- From the Execution Environment drop-down menu, choose the environment under which you will be testing
- Click Next.
Eclipse will create your project and will display the dialog for you to create your first test case:
Creating a Test Case Template
To create a new template for a test case:
- Find your test project from Package Explorer and right-click on it.
- From the menu click New > Other....
- In the New Project dialog, go to OSGi > TEE and select TEE Test Case. You will see the New TEE Test Case dialog:
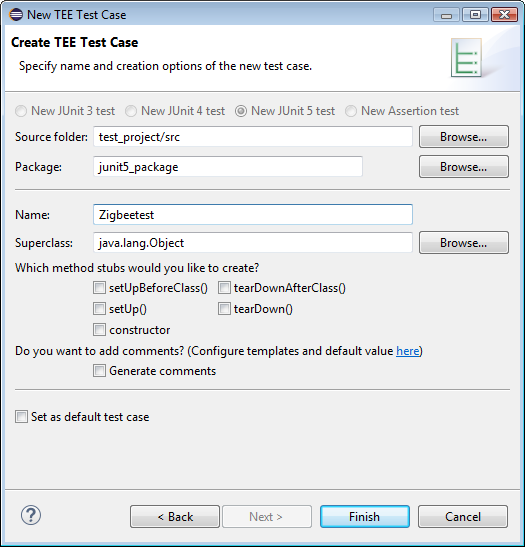
- Enter a Name for your test case.
- Enter a Package where it should be placed.
- In the Class under test field, type the name of the class you want to perform a test on. The class must a part of imported library/project.
- Click Next.
- From the class you chose, select the methods you want to perform a test on.
- Click Finish.
The test case template is created. Find it in your test project and click on it to start filling the method stubs.
Creating a Test Suite
A test suite can run a collection of test cases. To create a new test suite:
- Find your test project from Package Explorer and right-click on it.
- From the menu click New > Other....
- In the New Project dialog, go to OSGi > TEE and select TEE Test Suite. You will see the New TEE Test Suite dialog:
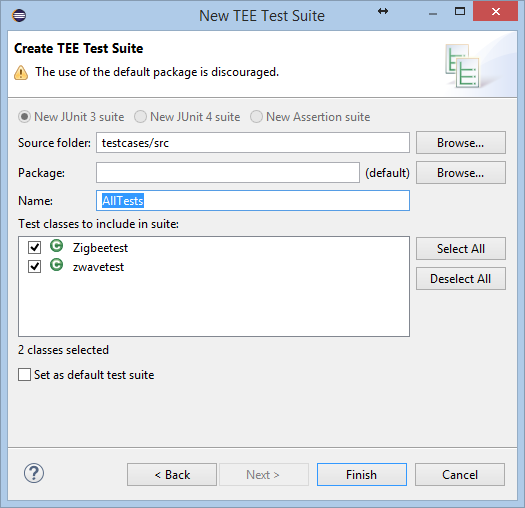
- Write a Name for your test suite (by default it is called All Tests)
- Mark the test cases which you want to include in the suite (by default all of them are included)
- Click Finish.
The test suite is created.