![]()
![]()
![]()
![]()
|
|
|
|
|
Managing Devices through HDM
Accessing DECT Devices
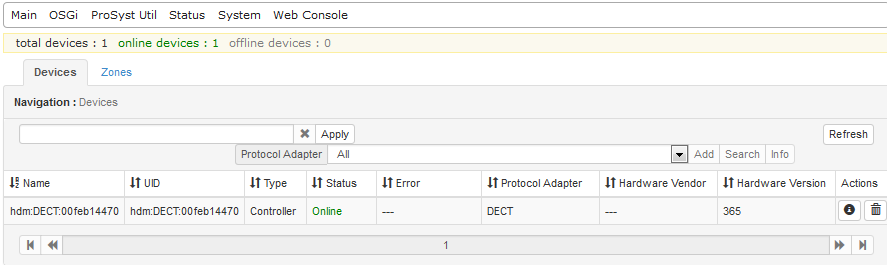
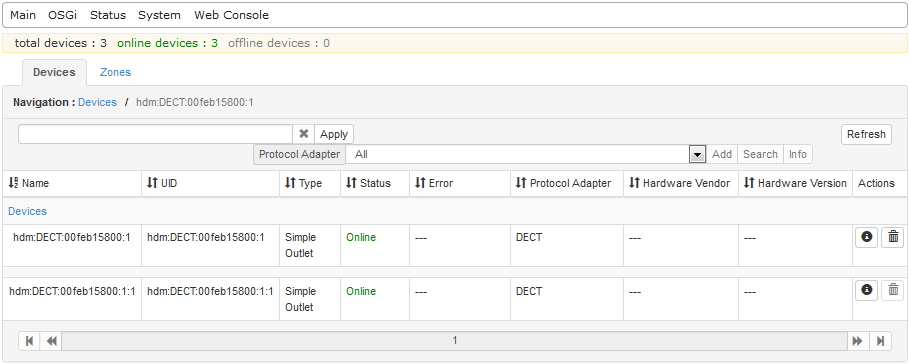
After setting up the environment open the Web Console page in a browser, log in and click the Home Devices tab. This opens the Home Devices page with the Devices tab selected by default. In the Devices page select DECT from the Protocol Adapter box to filter out only the available devices that communicate over the DECT protocol. The Devices tab of the Home Devices page shows the devices registered in the Home Device Manager. Here, the capabilities of the relevant protocol adapter are limited. It does not support "add", "search" and "remove" operations.
Examining and Changing Device Details
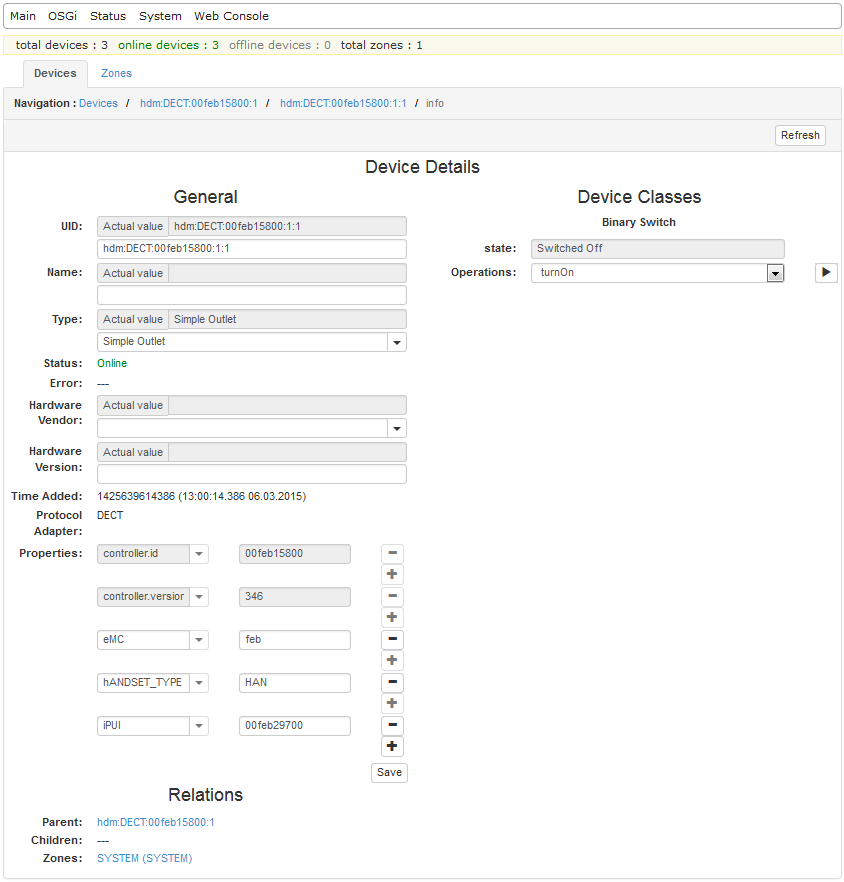
To view detailed information about a device, click on the ![]() icon. The Device Information dialog will appear - you can change the device attributes, as well as define additional properties in the Properties list, if required. Besides the details of the device itself, under Device Classes it shows the device class objects that the device has. From there you can also launch an operation on or modify a property of a device class object.
icon. The Device Information dialog will appear - you can change the device attributes, as well as define additional properties in the Properties list, if required. Besides the details of the device itself, under Device Classes it shows the device class objects that the device has. From there you can also launch an operation on or modify a property of a device class object.
Adding an End Device to a DECT Network
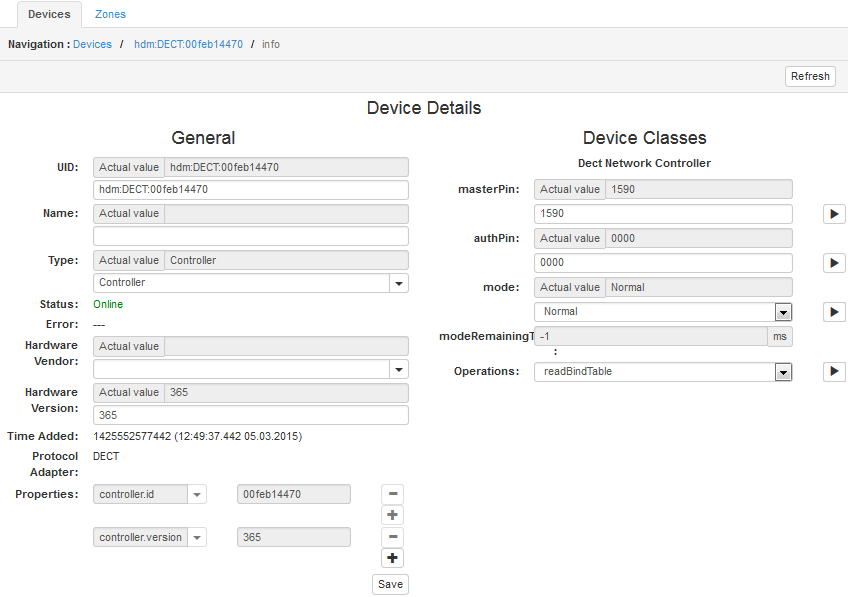
In order to add a DECT device to an existing network, the DECT network controller must be set in Pairing mode as described below. After setting the Controller in Pairing mode follow the procedure described in the user manual of the respective device for adding it to the network.
Changing the Mode of the Controller
To set the DECT controller device in Pairing mode so that a device/node can be added to the network, follow these steps:
.
You can get more details on the protocol adapter by clicking on the ![]() icon, which opens the Protocol Adapter Info window:
icon, which opens the Protocol Adapter Info window:

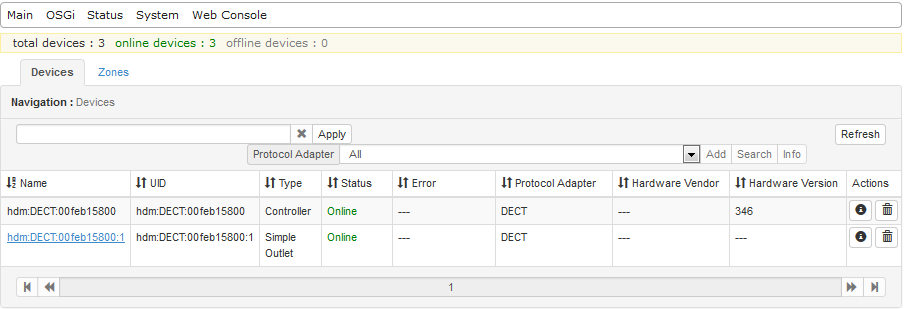
Note: To see a device and its units displayed in a tree structure click on the plus next to this certain device (as shown in the figure below for the DECT Simple Outlet).
Removing an End Device from a DECT Network
To remove an end device from a DECT network you need to click on the ![]() icon in the actions column.
icon in the actions column.
Turning On/Off a Binary Switch
To execute an operation on a device class object of a device, e.g. to toggle the state of a Binary Switch: