![]()
![]()
![]()
![]()
|
|
|
|
|
There are different ways to configure the three working modes of Azure IoT adapter. The Initial Configuration Loader from the OSGi module helps you provide initial configuration values, through embedding properties file in the Bosch IoT Gateway image.
The com.prosyst.mbs.osgi.cm.bundle.jar provides the functionality of the Initial Configuration Loader by default. It calls the factory for each FPID to create configurations with PID's corresponding to the names of the .properties files inside each FPID folder. The number of the files inside a FPID folder equals the number of the configurations created with the initial values of the properties described in each .properties file.
Once you have obtained your desired Bosch IoT Gateway image, follow the steps below to create folders and sub-folders with the properties files, which will be used by the corresponding factory to create configurations with the initial values you want.

the common profile, which comes with the Initial Configuration Loader
With the common profile, you skip specifying the system property com.prosyst.mbs.osgi.cm.config.profiles, which is used for creating customer profiles.
To provide your own profiles, you have to use the com.prosyst.mbs.osgi.cm.config.profiles system property. Its value is a comma separated list of profile names.
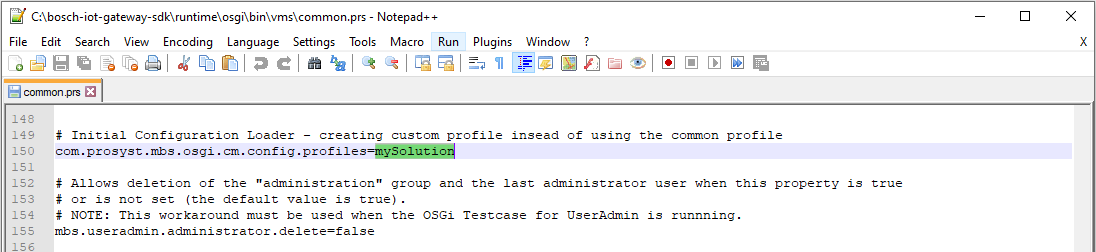
For example, to create the new mySolution profile, you have to edit and save the common.prs file via adding the com.prosyst.mbs.osgi.cm.config.profiles= mySolution line as follows:
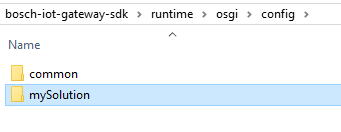

For mySolution profile it is the factory com.prosyst.mbs.azure.iot.adapter.messages.fpid used for creating configurations as in the screenshot below.
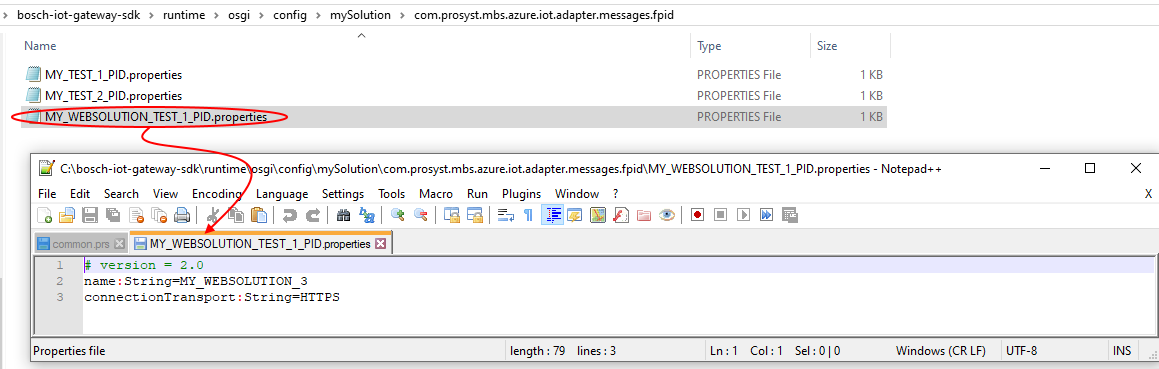
The name of the file will be used as PID of the configuration:
• ../osgi/config/../<FPID>/<PID>.properties
For more information refer to the Initial Configuration Loader.
Example
Let's use the common profile to provide properties for one configuration that will be generated by the factory with FPID com.prosyst.mbs.azure.iot.adapter.devicetwin.fpid.
You are not obligated to set all properties in this file.
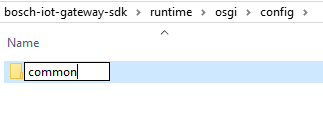
As a result the directory structure and the properties file will be as the following:
../bosch-iot-edge-services-sdk/runtime/osgi/config/common/com.prosyst.mbs.azure.iot.adapter.devicetwin.fpid
# version = 2.0
name:String=<NAME_OF_CONFIGURATION>
connectionString:String=<CONNECTION_STRING_FOR_IOT_HUB_OR_PROXY_DEVICE>
connectionTransport:String=<ONE_OF_SUPPORTED_CONNECTION_PROTOCOLS - HTTPS|AMQPS|MQTT|AMQPS_WS|MQTT_WS>
edgeGatewayHostname:String=<HOSTNAME_OF_AZURE_EDGE_DEVICE>
edgePathToCertificate:String=<PATH_TO_ROOT_CERTIFICATE_OF_EDGE_DEVICE>
functionalItemExclusionFilter:String=<LDAP_FILTER_FOR_DEVICES_NOT_TRACKED_BY_THIS_ADAPTER>
functionalItemInclusionFilter:String=<LDAP_FILTER_FOR_DEVICES_TO_BE_TRACKED_BY_THIS_ADAPTER>
snapshotReportInterval:Integer=<NUMBER_OF_SECONDS>
sendOnlySnapshot:Boolean=<TRUE/FALSE>
If you want to provide configurations for any of the other working modes of the Azure IoT Adapter, simply add the corresponding folders and properties files following the pattern:
• ../osgi/config/common/<FPID>/<PID>.properties.
e.g. for the following factories:
you have to create the corresponding folders:
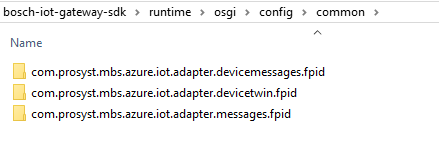
with the properties files for your custom configuration in each of them.
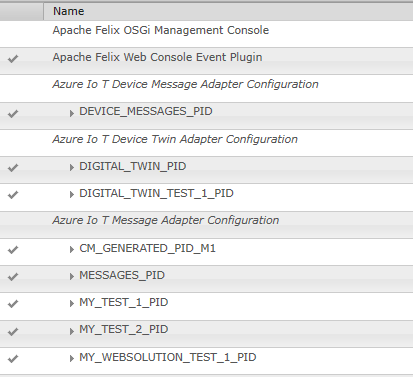
If you have set the system property of com.prosyst.mbs.osgi.cm.config.profiles in common.prs file equal to your custom profile name and if you have provided properties files in its FPID folder, your custom configurations would also be available in the list after successful installation of the gateway.
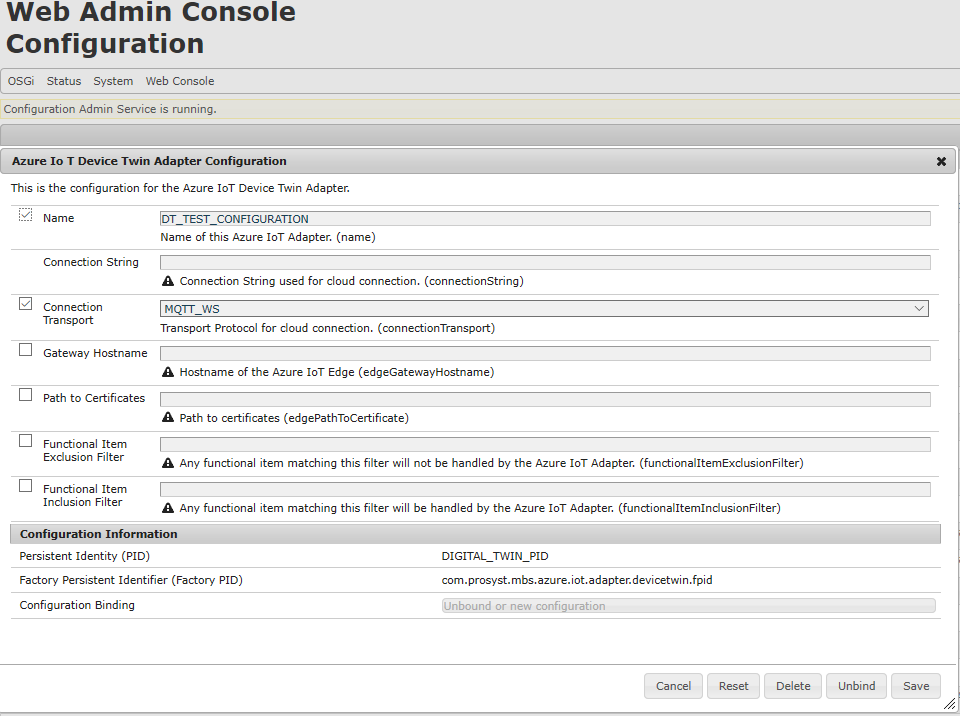
From the list of the configurations select one:
Its initial configuration values are present in the corresponding fields of the properties, according its .properties file you have provided: