mToolkit provides the Plug-ins for adding the CEE-J as Java Runtime Environment (JRE) definitions in the active workspace.
To add JVMs into the Eclipse Java development environment as a JRE, follow the next common instructions:
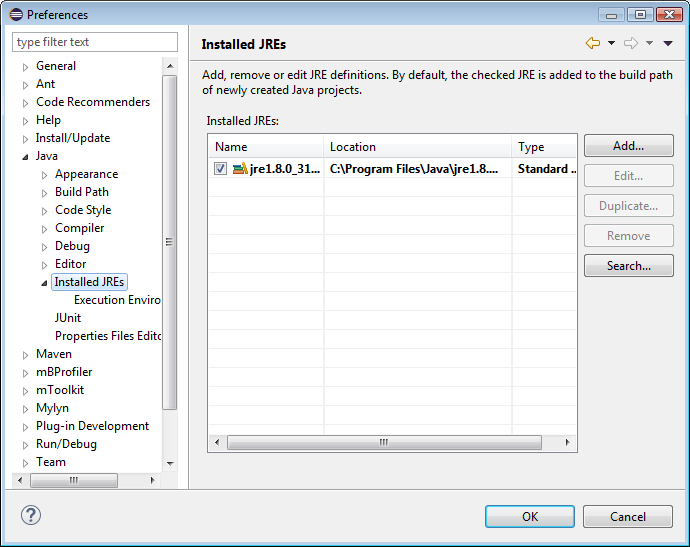
Select the Window > Preferences menu item to open the workbench preferences.
Select the Java > Installed JREs preference page.
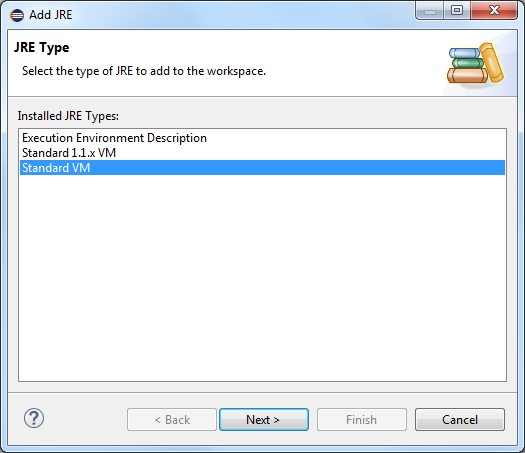
To add a new JVM, click Add. As a result the Add JRE wizard dialog appears listing the JRE types supported in the workbench.
Select the JRE type according to the target JVM and click Next.
Specify the path to the JVM root directory by using the Directory button next to the JRE home text field. In case the directory is properly set, JVM system libraries will be automatically detected and added to the JRE system libraries list.
Name the JRE definition in the JRE name field.
Specify the virtual machine arguments in the Default VM Arguments text field.
(Optional) Configure the list of available system libraries by using the options in the JRE system libraries pane:
Add, remove or define the priority of the listed system libraries.
Click the Javadoc Location button to specify the directory holding the API documentation, if any, for a selected system library.
Click the Source Attachment button to specify the directory, JAR file or ZIP file containing the Java source files, if any, for a selected system library.
Click the Restore Default button to revert to the default system libraries.
Click Finish to complete adding the JVM to the Installed JREs list.
To assign the JVM as the default one for the workbench, in the Installed JREs preference page check its box (see the figure at the top).